Introduction
We still fight for little makeup, even if we are no longer captives to The Mask. Warm-toned cheek stains, barely noticeable lipstick, and brushed-out eyebrows remain staples in our aesthetics, and we have always loved it that way. For this reason, we’re deviating from the traditional pink and purple cheek and lid makeup and instead creating a comprehensive tutorial on how to get the ideal nude makeup look. Additionally, we have the ideal makeup tools to achieve these nude makeup styles. Continue reading to learn the definition of and how to apply nude makeup.
How to Get the Ideal Look of Nude Makeup:
Here’s a guide on how to get a classic nude makeup look.
1. Cleansing
Start with skincare to get an attractive nude appearance that is dewy and barely there. To gently remove buildup and dirt, wash your face with a foam-based cleanser.
2. Moisture
Apply a lot of moisture for a natural makeup effect.
Finish by saturating your face with a light, brightening solution that absorbs easily into your skin and retains moisture for a base that is velvety smooth. This is the second crucial step in applying makeup in a nude manner!
3. Primer
Primer for the look of bare makeup
Apply a primer all over your face to create a foundation for your makeup and prolong the appearance of your natural makeup. For a base fit for a goddess, search for a primer that has moisturizing elements like rosehip oil, camellia oil, or hyaluronic acid.
4. Base
Build the foundation.
Instead of using foundation, use a BB cream or even a tinted moisturizer to create a dewy, airy, and natural-looking finish. If you’re using foundation, choose a solution that moisturizes, brightens, and hides well while remaining lightweight and breathable. To get the ideal nude makeup appearance, use a brush to apply the product just to the parts that are uneven.
5. Concealer
Spot-Conceal the bare-faced makeup appearance
Cover any parts of your face that require hiding, such as scars, pimples, wrinkles, spots, and discoloration. To integrate the product into the region beneath your eyes, use your fingertips. Make sure to apply the product in little strokes using a pea-sized quantity.
6. Make Brown the Star of the Show
Eye makeup for an appearance of bare skin
The play of browns on the cheeks, lips, and lids is one aspect of the naked makeup look that never changes. Simply apply a layer of shimmering brown to the eyelids and use a dark-brown eye pencil to lightly flick both eyes.
7. Increase The Lashes’ Volume
Eyelashes that look naked
Apply a volumizing mascara to the lids. Give it a few seconds before applying another layer of your nude makeup.
8. Control Your Brows
Brow for a makeup-free appearance
Use a spoolie or brush to brush your brows and an eyebrow pencil or pen to slightly fill them in, but don’t go overboard. To enhance the subtlety of the aesthetic, draw lines and strokes in the direction of the hairs using an eyebrow pencil.
9. Apply Warm-Toned Blush for a Nude Makeup Look
No rose or pink blush is used to achieve this nude makeup look. It tends toward brown and golden facial cleansers and is warmer. Choosing a brown colour for the cheekbones is a stylistic choice. Draw the colour back toward the temples after concentrating it on the apples of the cheeks.
10. Highlight the Key Elements of the Nude Cosmetics Look
Dust highlighter over the high points of the face to get the “lit-from-within” look. Kiara’s nose, temples, cheekbones, and inner corners of her eyes are all highlighted for impact.
11. Apply a peach-brown lipstick for a naked makeup appearance.
Grab a gentle brown lipstick and dab it onto your lips. You may apply a moisturizing lip balm on top of the colour.
Seven Tricks To Master The Look Of Nude Makeup
However, how can one master the aesthetic? Here are some pointers on applying makeup when naked.
Wash and Apply Moisturizer
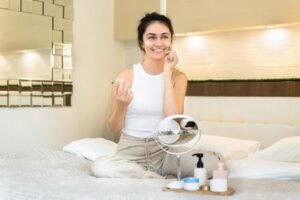
Apply a gentle cleanser first, then a light moisturizer to finish up your face care routine. If you want your skin to seem healthy, dewy, and fresh, you need to follow this nude makeup advice. Remember to use a moisturizing or brightening primer to establish your base if you want your look to last longer.
Locate, Hide, and Cover
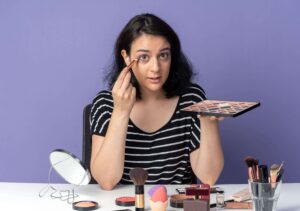
Recall that simplicity is essential and that you should only apply makeup to the skin’s blemishes, hollows, and other irregularities.
Minimal Eyes

Don’t use your eyes too much. Simply apply a little coating of mascara to your lashes and use a skin-toned eyeshadow on your lids. This colour selection will balance out any discoloration on the lids without adding too much pigment to the natural makeup appearance.
Select blush browns and bronzes.
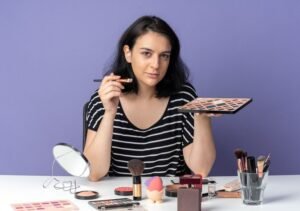
Seek out items that don’t drastically alter the tone of your skin. Shades of brown and bronze are preferable to pink and purple. After patting the colour over the apples of your cheeks and brushing it back toward the temples, be sure you’re not applying too much. Instead of using a cream or liquid blusher, try using one that is powder-based. Ignore contouring completely.
Emphasize Your Best Features
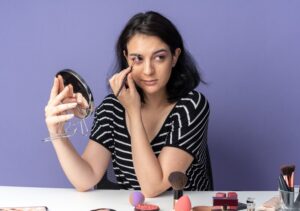
Highlight the facial high points with a highlighter. This encompasses the nasal bridge, inner corners of the eyes, cheekbones, jawline, temples, and the middle of the lids.
Emphasize Your Brows
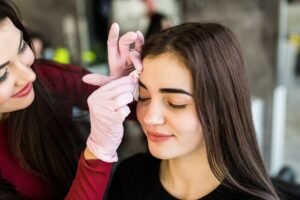
Using a spoolie to groom your brows before anything else is another nude makeup technique. For greater precision, try using an eyebrow pen rather than an eyebrow pencil.
Using Your Fingers, Apply Lipstick
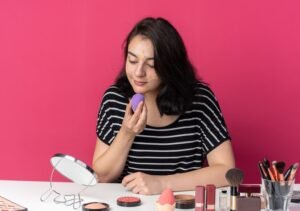
After selecting a lip colour that closely matches your skin tone, use your fingers to dab the colour on to your lips. Blotting, as opposed to using an applicator to apply lipstick, adds colour to your lips without making them appear too bold. After that, you may even use a little piece of tissue to wipe your lips. The idea is to draw attention to your lips without giving the impression that you’re wearing makeup. To properly replicate the look, apply a little gloss to your lips.
A lot goes on behind the scenes for a style that relies on minimalism, but that’s also how you correctly recreate a natural nude makeup look.
I hope you enjoyed reading the blog on nude makeup and are ready to implement it in your makeup. Kindly stay in touch and keep reading our next blogs on She N Me Salon.
Follow us on our social media accounts for additional information ![]()
![]()

